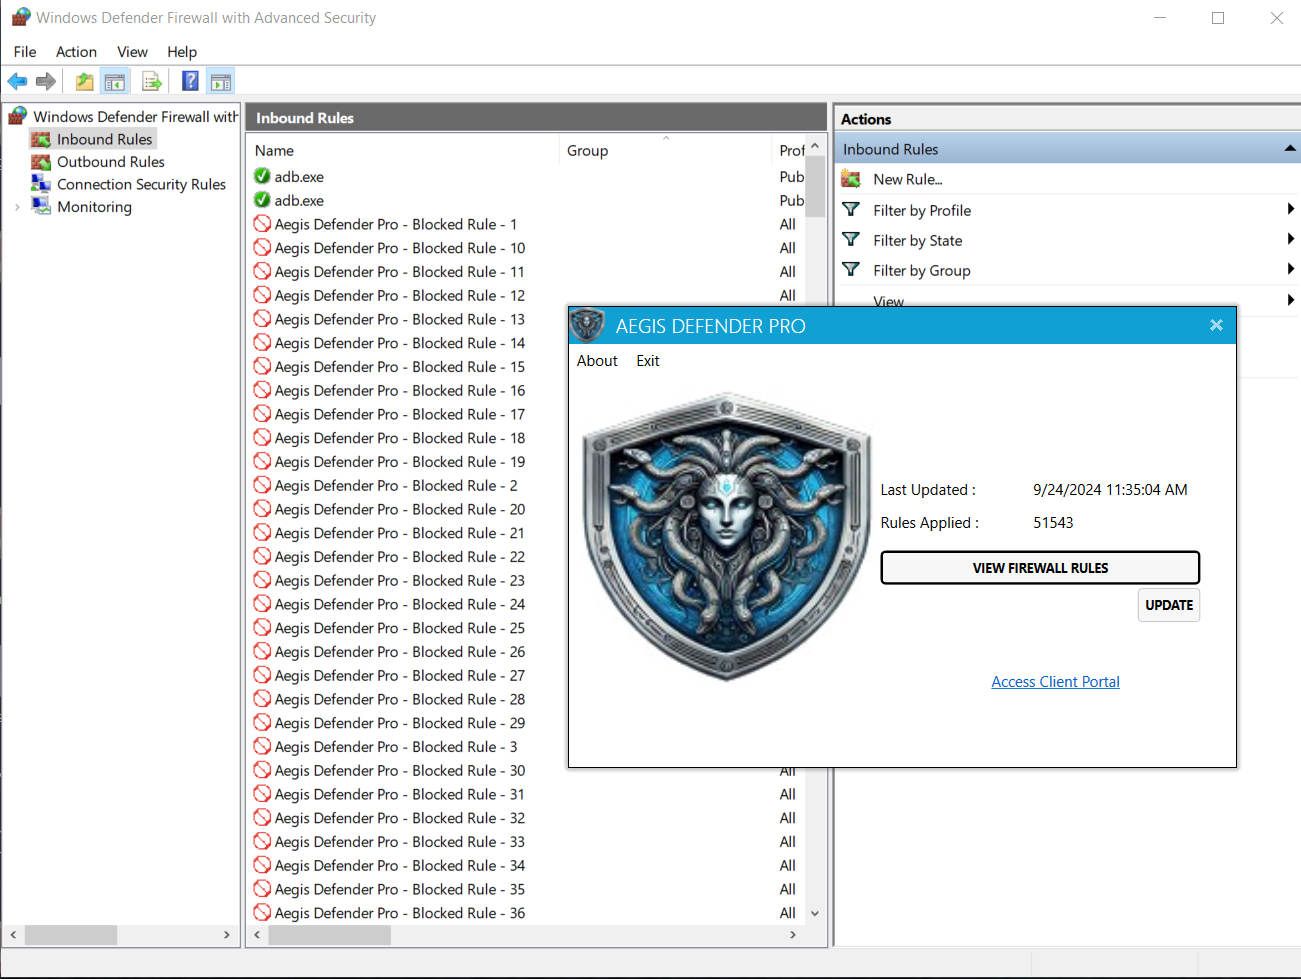
Aegis Defender Pro™ Installation Guide for Windows
System Requirements:
- Operating System: Windows Server (any version) or Windows PC (Windows 10 or 11)
- Internet Connection
Before You Begin:
- Ensure you have received the installation code via email or from your sales agent (for volume licenses).
- If Windows Defender is not activated on your system, please follow the instructions below.
Installation Steps:
-
Download Aegis Defender Pro™:
- Visit the Aegis Defender Pro™ download page in your account.
- Click on the "Download Now" button to start the download.
-
Run the Installer:
- Locate the downloaded installer file (usually in your "Downloads" folder).
- Double-click the installer file to run it.
-
Welcome Screen:
- The installer will open with a welcome screen. Click "Next" to proceed.
- The installer will open with a welcome screen. Click "Next" to proceed.
-
License Agreement:
- Carefully read the End-User License Agreement (EULA).
- If you agree to the terms, select "I accept the agreement" and click "Next."
-
Installation Code:
- You will be prompted to enter your installation code.
- If you have received it via email or from your sales agent, enter it in the provided field and click "Next."
-
Windows Defender Check:
- The installation process will check if Windows Defender is running on your system.
- If Windows Defender is running, the installation will proceed.
- If Windows Defender is not activated, you will receive a message with a link to open the Windows Defender settings screen. Follow the link and activate Windows Defender.
-
Installation Progress:
- Aegis Defender Pro™ will now be installed on your system. The installation typically takes a few seconds.
- Aegis Defender Pro™ will now be installed on your system. The installation typically takes a few seconds.
-
Completing the Installation:
- Once the installation is complete, click "Finish" to exit the installer.
Congratulations! You have successfully installed Aegis Defender Pro™ on your Windows Server or PC.
Note: Aegis Defender Pro™ will automatically update your native Windows firewall every hour with the latest protection from our Master Block List (MBL).

Linux Installation
System Requirements:
- Linux-based server (e.g., CentOS, Ubuntu)
- Internet Connection
- Aegis Defender Pro™ subscription
- Secure FTP access to CSF folder
Before You Begin:
- Ensure you have an active Aegis Defender Pro™ subscription.
- Familiarize yourself with the CSF firewall and its configuration.
- Access to your server's terminal with root or sudo privileges.
Configuration Steps:
-
Install and Configure CSF:
- If CSF is not already installed on your Linux server, install it using the appropriate package manager (e.g.,
yumfor CentOS,aptfor Ubuntu). - Follow the official CSF installation and configuration guidelines provided by the CSF documentation. More Help
- If CSF is not already installed on your Linux server, install it using the appropriate package manager (e.g.,
-
Adjust CSF Settings:
- Open the CSF configuration file for editing. You can use a text editor like
nanoorvi. For example:sudo nano /etc/csf/csf.conf.
- Open the CSF configuration file for editing. You can use a text editor like
-
Optimize CSF for Large IP_DENY Entries:
- In the CSF configuration file, locate the following setting:
DENY_IP_LIMIT
- Set it to "0" to allow unlimited IP_DENY entries. For example:
-
DENY_IP_LIMIT = "0"
- In the CSF configuration file, locate the following setting:
-
Save and Exit:
- Save your changes in the CSF configuration file and exit the text editor.
- Save your changes in the CSF configuration file and exit the text editor.
- Restart CSF
- Restart the firewall: `sudo csf -r`
- Restart the firewall: `sudo csf -r`
-
Automated IP_DENY List Updates:
- Aegis Defender Pro™ will automatically update your IP_DENY list on your remote server.
- You must set up a user / password for FTP/SFTP file transfers to upload the updated CSF.DENY file from our offices hourly. Provide this information to your sales agent.
Congratulations! Your Linux server is now configured to work seamlessly with Aegis Defender Pro™ and CSF, allowing unlimited IP_DENY entries. Automated updates of the CSF.DENY file will be handled remotely from your offices.


